ALREADY A PAID SUBSCRIBER? SIGN IN
After endless days of low cloud cover, chill winds and drizzle, suddenly the sun blazed yesterday and again today. Last night I dreamt of Greece.
Our planned Easter break had to be cancelled, of course, and neither of us have the stomach yet for travelling that far. Like many our relationship to international travel has changed over the past months, due both to quarantine requirements and the clear proof, as if any were needed, of the contribution flying makes to climate change when emissions plummeted after lockdown. Travelling overland and by sea have become our preferred means of getting away, but it will be some time before we feel confident enough to make the 4 day journey by train and ferry to our beloved island.
When I dream of our holidays in Greece food figures strongly in my memories and there is one dish in particular that I miss more than any other. Pythia is the local name given to the chick pea fritters that are more commonly known across Greece as revithokeftedes. They are doubtless related to falafel, but are lighter and fresher tasting, although recipes vary from region to region, village to village and family to family. In fact, one of our holiday pastimes is to judge who, this year, is making the best pythia. There are a couple of regulars who mantain total consistency from meal to meal and year to year, but every year there may be a surprise newcomer.
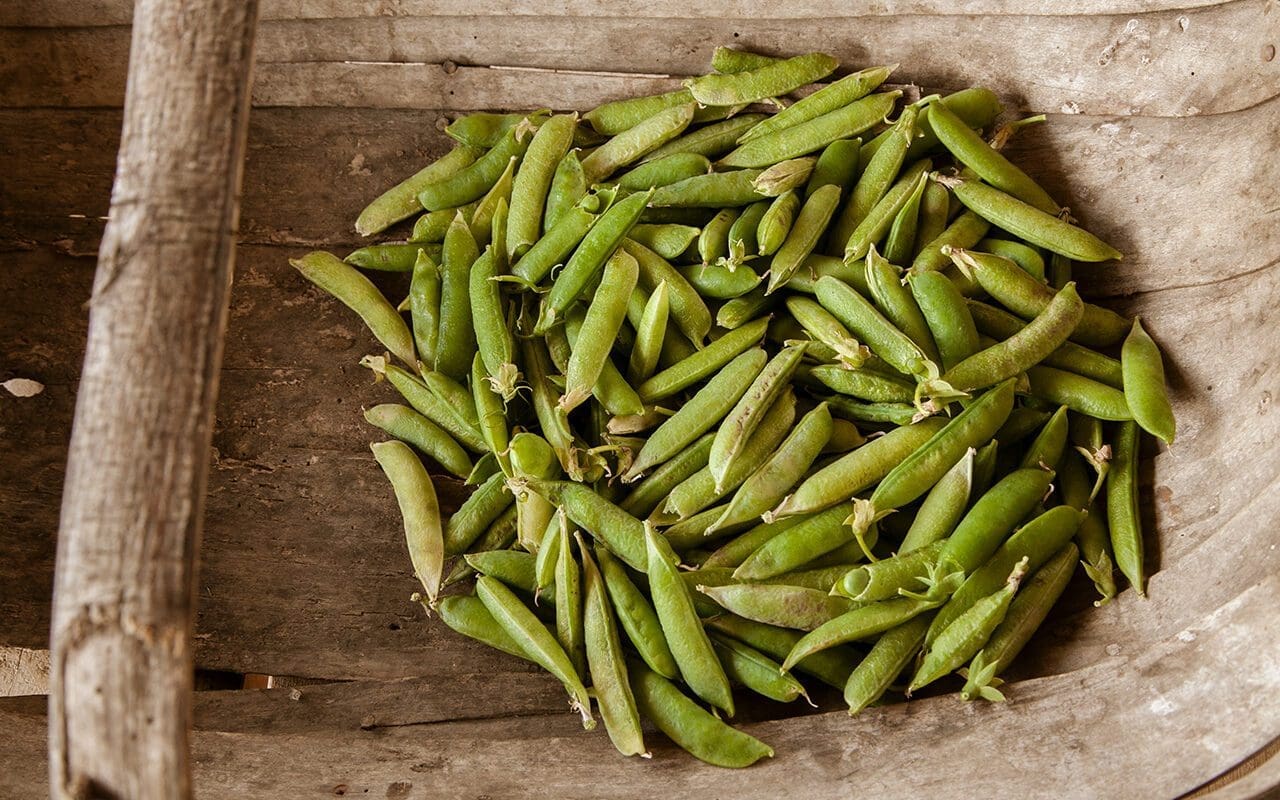
We have never tried to grow chick peas here, since they need a long season of heat for the peas to ripen. However, I was heartened to read this growing information recently, which suggests that with a sunny, sheltered position it is possible to get a substantial crop of green peas that are good to eat fresh. We learned a lesson this year, after planting our peas on the ‘frontline’ of the kitchen garden. After a slightly false start due to mice eating some of the first sowing, they were then slow to get going and, once they did, hated the hot winds of May and the cold winds of June equally, never really hitting their stride. The short-growing petit pois ‘Charmette’ fared the better of the two we grew, but only provided for around four meals, as the pods wizened on the plants before maturing. Early this morning, whilst picking the last of the very disappointing and elderly crop of Glory of Devon peas, I was wondering what to do with them, as they were too old to simply eat boiled. With visions of Greece still floating in my head I thought that they would make a good substitute for chick peas in a fresh, green version of pythia.
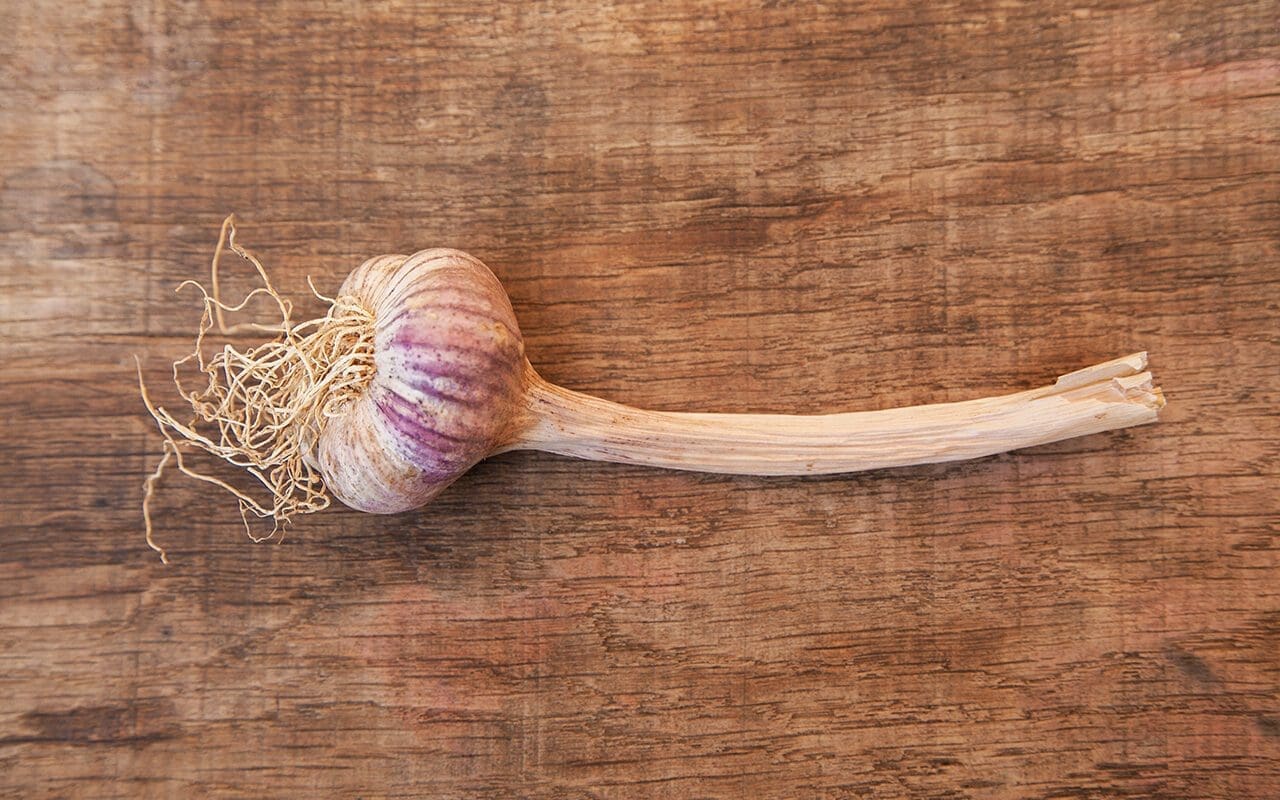
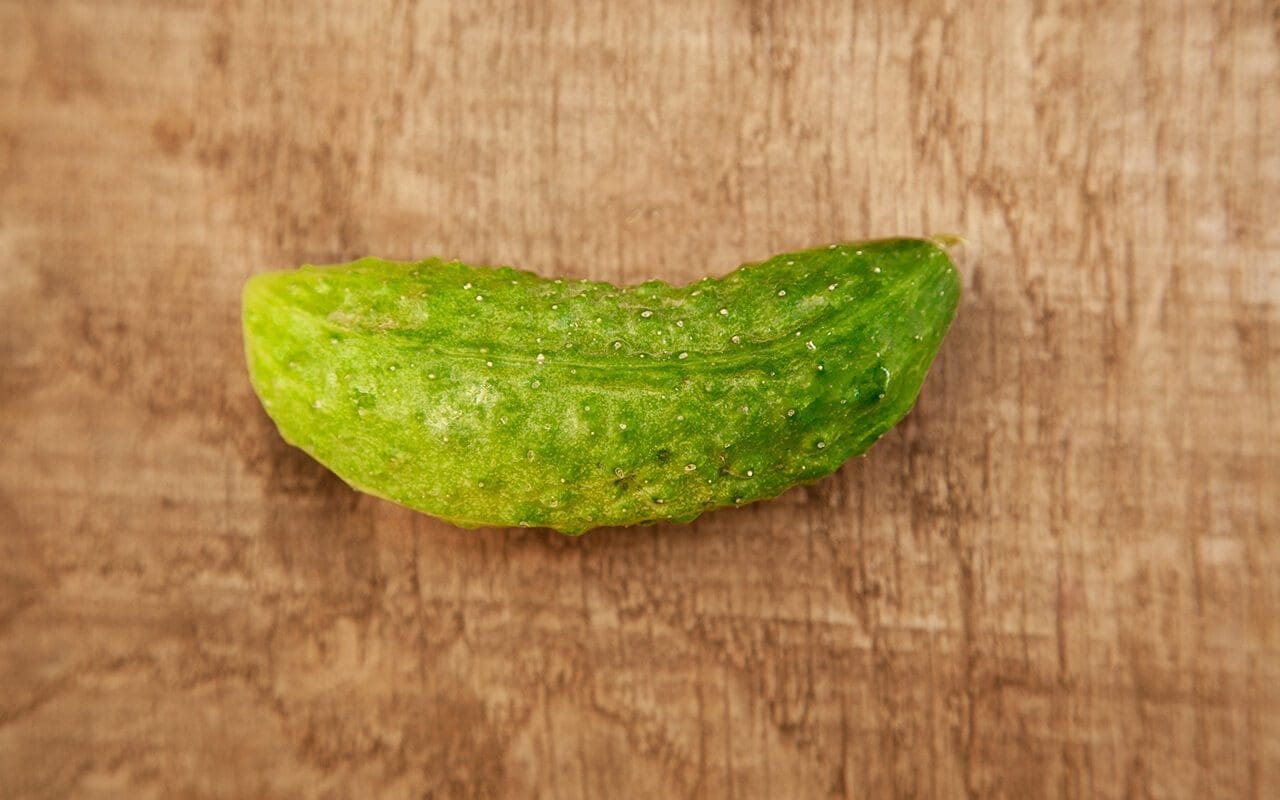
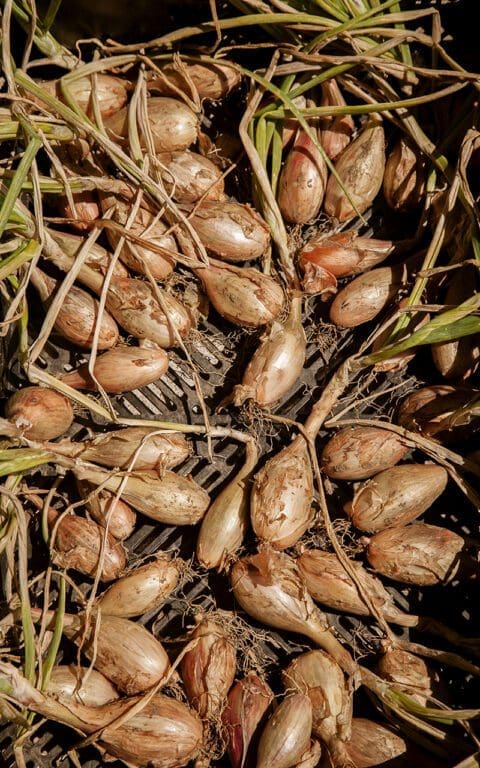
Last weekend I dug up the shallots and three weeks before that the first of the summer garlic, both of which feature in this recipe, as well as the cucumber and herbs which are all from the garden.
If you can’t find chick pea flour and have a Nutribullet type blender you can make your own from dried chick peas. It can also be found at suppliers of Indian foods as gram flour. You can, of course, use frozen peas in place of fresh, or broad beans or the traditional chick peas.
Makes 12, enough for 4 as a starter
250g shelled peas
1 shallot, finely chopped, about 40g
2 fat cloves of fresh garlic
A small handful of flat-leafed parsley, stalks removed
The leaves from two stems of fresh oregano, about 2 tablespoons
1 teaspoon ground coriander
1 long green chilli
The zest and juice of one lemon
8 tablespoons of chick pea flour
1 teaspoon of baking powder
Ice cold fizzy water
Salt and finely ground black pepper
1 small cucumber
100ml strained Greek yogurt
1 tablespoon mint, very finely chopped
1 tablespoon dill fronds, very finely chopped
1 clove of garlic
Salt
Flavourless oil for frying such as rapeseed or rice bran
Firstly grate the cucumber finely into a sieve. Sprinkle with some salt and leave to drain over a bowl while you make the pythia mixture.
Blanch the peas in boiling water for two minutes. Drain them well in a colander then put them with the shallot, garlic, herbs, coriander, chilli, lemon zest and juice into a food processor fitted with a blade. Pulse process until the mixture resembles coarse breadcrumbs. Tip the mixture into a bowl and season with salt and pepper.
Add the chick pea flour and baking powder and stir well to combine. Then add the fizzy water a little at a time until you have a mixture that is soft, but that still holds its shape on a spoon. If it looks too wet add more chick pea flour a little at a time. Leave to stand.
Put the oil into a high sided frying pan to a depth of about 2cm and heat to smoking point.
Using your hands squeeze as much liquid as possible from the cucumber. Put into a bowl with the yogurt and herbs. Grate the clove of garlic into the mixture, season with salt and stir.
When the oil is smoking test fry a small amount of the fritter mixture by gently lowering half a teaspoonful into the oil. It should sizzle and float and brown rapidly. Turn it over to brown the other side, then remove from the oil with a slotted spoon and drain on kitchen towel. Allow to cool a little before tasting, then adjust the seasoning if necessary.
Bring the oil back up to temperature, then take dessertspoonfuls of the mixture and gently lower them into the oil. Do not overcrowd them or they won’t develop a crisp exterior. I use a 22cm diameter, high sided skillet and cook three at a time. Fry for approximately a minute and a half each side until a deep, golden brown, turning them gently once. Remove from the oil with a slotted spoon allowing excess oil to drain back into the pan before moving them onto a small baking tray lined with absorbent kitchen paper. Put them into a warm oven while you cook the rest of the mixture.
Put three pythia on a plate for each guest, with a spoonful of tzatziki and a slice of lemon. Eat piping hot with a glass of something cold.
Recipe & photographs: Huw Morgan
Published 18 July 2020
We have now been at Hillside for six weeks during which time we have left the village just twice. Our daily lives have settled into a regular routine, which provides the reassurance of structure. The furthest we venture from the house each day is for two dog walks, one around the valley after breakfast and the other shorter one up the lane to our top fields after we finish work. Apart from our DPD delivery man (with whom we have rapidly become much more familiar) the only people we see regularly are our immediate neighbours.
Living in a tiny community the local support network kicked in very quickly here in mid-March. Josie and Rachel, sisters who live up the lane, are in their 80’s and have lived here almost all their lives and still live to the rhythm of an earlier time. When we first moved here they told us that our top fields used to be known as the ‘hospital fields’, since they were left ungrazed for the cows to be allowed in at certain times of year to self-medicate on wildflowers. When we first got a swarm of bees they arrived, unannounced and kitted up, to see if we wanted some help learning how to manage them, as they have been beekeepers for decades.
Each evening we meet them at the gate to the hospital fields as we return from our dog walk, where they feed the two beef cattle they raise each year in the neighbouring field. We have always stopped for a quick hello in the past, but there is now an enforced closeness and intimacy in our communications. Very quickly after lockdown we started talking chickens. The fenced orchard that abuts their garden is home to a large brood and their cockerel can be heard most mornings waking the upper reaches of the village. We had thought that now, unable to leave home, might be the time to get chickens of our own. While we still haven’t committed, we rely on our now weekly delivery of eggs from the ladies up the lane.
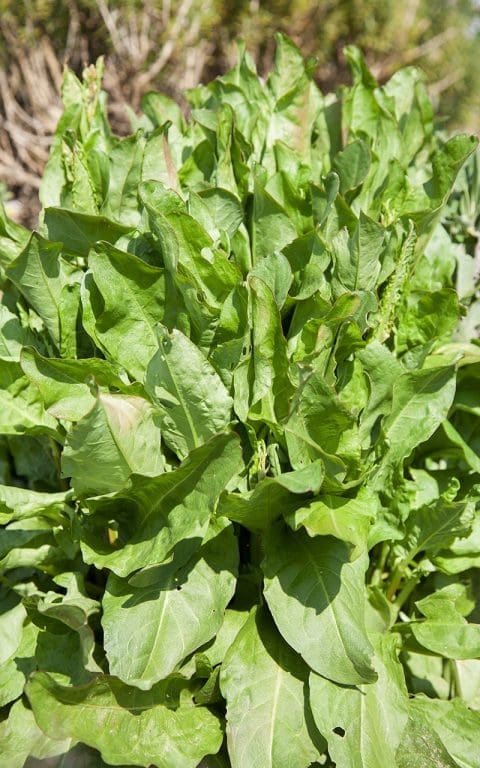
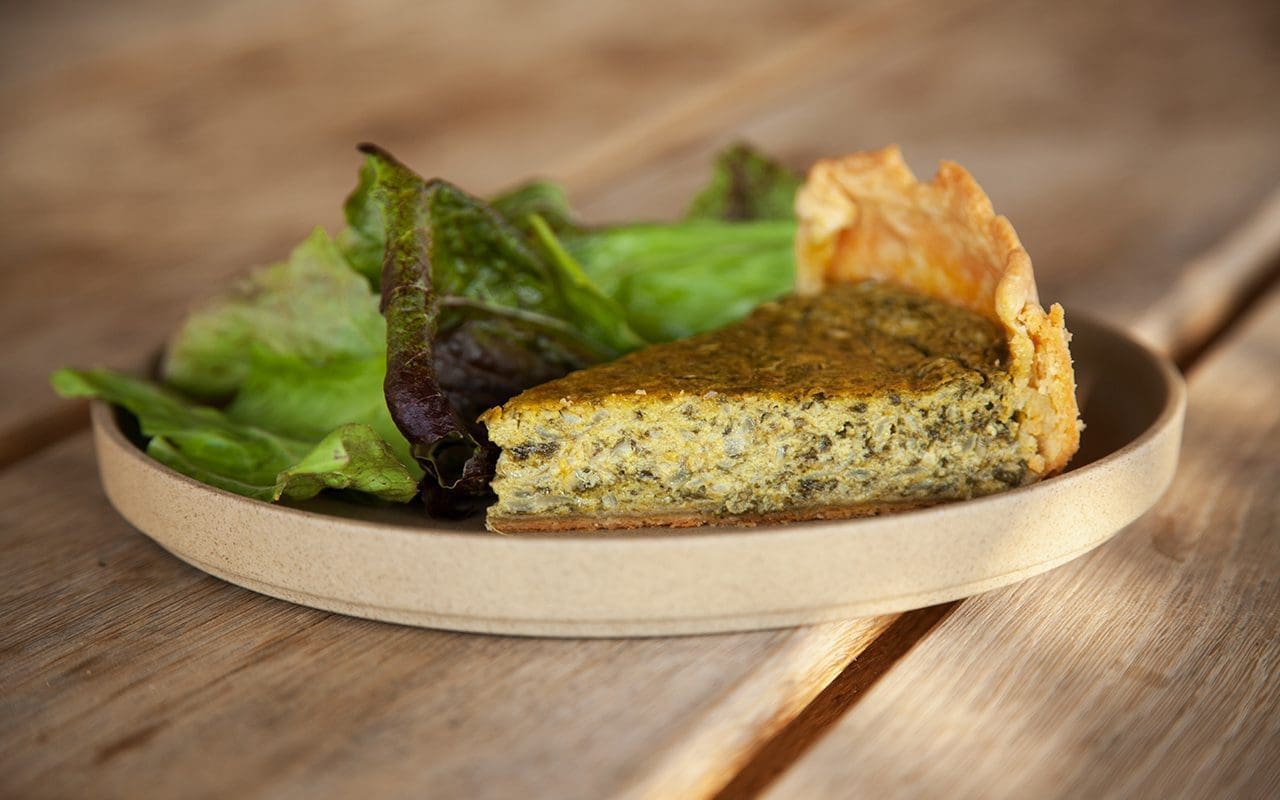
Now that we are smack in the middle of the hungry gap, everything in the vegetable garden is up for kitchen consideration and things that may once have been a passing fancy demand a treatment that will turn them into a real meal. The sorrel, which is in its prime right now, is sending out sheaves of squeaky green leaves that just invite harvest. Due to its reputation for sourness, and the fact that, like spinach, it cooks down to nothing (whilst also turning an unappetising shade of khaki) it is not the easiest of leaves to use. However, the sorrel custard filling of this tart both extends and carries the lemony flavour of the leaves beautifully, while also disguising the somewhat murky colour since, with the yellow of the eggs, it cooks to an attractive chartreuse. Since sorrel isn’t available to everyone it could be replaced by young spinach, de-stalked chard or wild foraged greens like wild sorrel and nettle. The addition of a tablespoon or two of lemon juice will add the requisite tang.
This recipe is essentially Richard Olney’s from Simple French Food. My only adjustments are the addition of a tablespoon of fine polenta to the pastry (I like the sandy crunch it brings to savoury pie crusts) and a little less double cream. However, more than that I would not be tempted to fiddle. The plain simplicity of this recipe is its secret, particularly in these times of renewed frugality. The alchemy and pleasure of turning straightforward pantry items and produce from the garden into something memorable and delicious.
Pastry
125g plain flour
125g unsalted butter, put into the freezer for 30 minutes
1 tablespoon fine polenta
A pinch of salt
5-6 tablespoons iced water
Filling
300g sorrel leaves, weight with stalks removed
2 medium onions, about 300g
60g butter
250ml double cream
3 eggs
Ground black pepper
Sea salt

First make the pastry. Put the flour into a medium sized mixing bowl and then grate the frozen butter into it. Using a sharp knife and fast cutting motions, cut the butter into the flour, until the mixture resembles sand. Add the salt and polenta and stir to combine.
Sprinkle the iced water over the flour and butter mixture two tablespoons at a time, and use the knife to incorporate it after each addition. Then when it looks as though it is damp enough, use the very tips of your fingers to quickly pull the dough together into a ball. Wrap tightly and put in the fridge for 1 hour.
While the dough is chilling boil the kettle and put the sorrel leaves into a large saucepan. Pour the boiling water over the sorrel and stir with a wooden spoon. The leaves will turn khaki. Drain immediately and thoroughly.
Gently heat half the butter in a smallish pan. Press the sorrel leaves against the side of the colander to remove as much water as possible, then stew in the melted butter over a low heat, stirring from time to time, until you have a puree with no surplus liquid. Remove from the heat and allow to cool.
While the sorrel is cooking gently heat the other 30g butter in a smallish pan. Add the onion and saute over a very low heat, with the lid on, for about 30 minutes, or until they are very soft, translucent and completely uncoloured. Allow to cool to room temperature, then add to the sorrel. Heat the oven to 180°C.
Take the pastry from the fridge and roll out very quickly on a well floured surface into a circle 28-30cm in diameter. Carefully use to line a 23cm tart or cake tin. Prick the base with a fork several times. Line with baking parchment, fill with baking beans and bake blind for 15 minutes. Remove the beans and baking parchment and return to the oven for 5 minutes or until the pastry looks dry and lightly coloured. Remove from the oven and allow to cool.
Beat the eggs and cream together in a bowl. Season with pepper and salt. Add to the sorrel and onions and mix thoroughly. Pour the mixture into the pastry case and bake for 40-50 minutes until firm in the middle and lightly coloured.
Serve warm with a green salad.
Recipe and photographs: Huw Morgan
Published 24 April 2020
We are sorry but the page you are looking for does not exist. You could return to the homepage